
After inverter placement is complete, you can automatically create electrical strings for all PV modules based on the selected configuration.
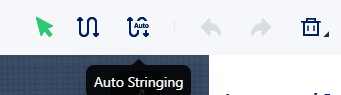
Access Auto Stringing
Go to the Stringing step and select Auto Stringing from the Stringing tool group.
You can also enable Auto Stringing during the final step of the inverter configuration workflow.
Manual Stringing is available separately for creating strings one by one.
Configure Stringing Parameters
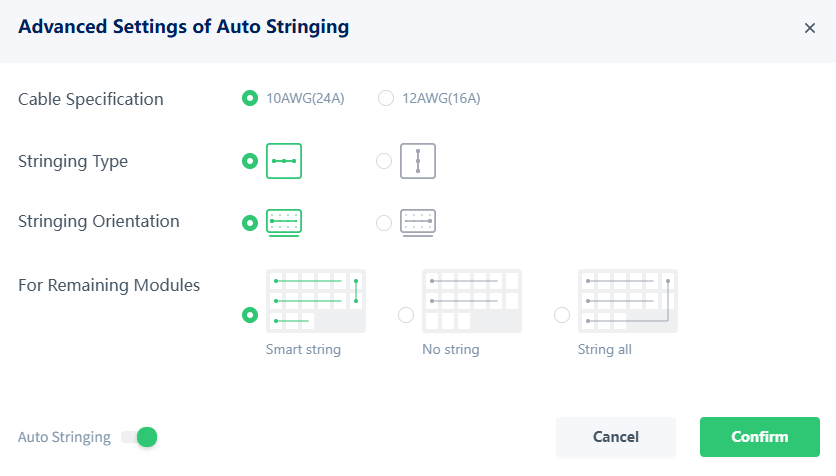
Select the desired options in the configuration dialog.
Starting Point
Define the starting position and stringing direction.
Available options include:
- Top Left (default)
- Top Right
- Bottom Left
- Bottom Right

Stringing Mode
Choose how modules are connected:
- Cross Stringing
- Linear Stringing
Available options may vary depending on the inverter and system type.

Remaining Modules
Define how unassigned modules are handled after the main strings are created:
- Auto
- Do Not String
- String All

Cable Type (AC Stringing Only)
For AC automatic stringing, select the cable specification to be used.
Available cable models are displayed according to the selected regional standard.
Generate Strings
Click Confirm to start automatic stringing.
The system automatically:
- Creates DC or AC string connections
- Generates the required wiring layout
- Updates the design view with the new string configuration
A progress animation is displayed while the operation is running.
Recreate Strings
You can reopen the Auto Stringing dialog at any time and apply a different configuration.
Existing string results may be cleared automatically after changes such as:
- Modifying the inverter design
- Adding or removing modules
- Changing cable specifications
- Switching between automatic and manual stringing modes