
Obstacles and trees can be added to your project to represent rooftop equipment, building structures, and surrounding vegetation. Adding these objects helps create a more realistic site model for shading analysis and PV system design.
Drawing Obstacles
Select an Obstacle Type
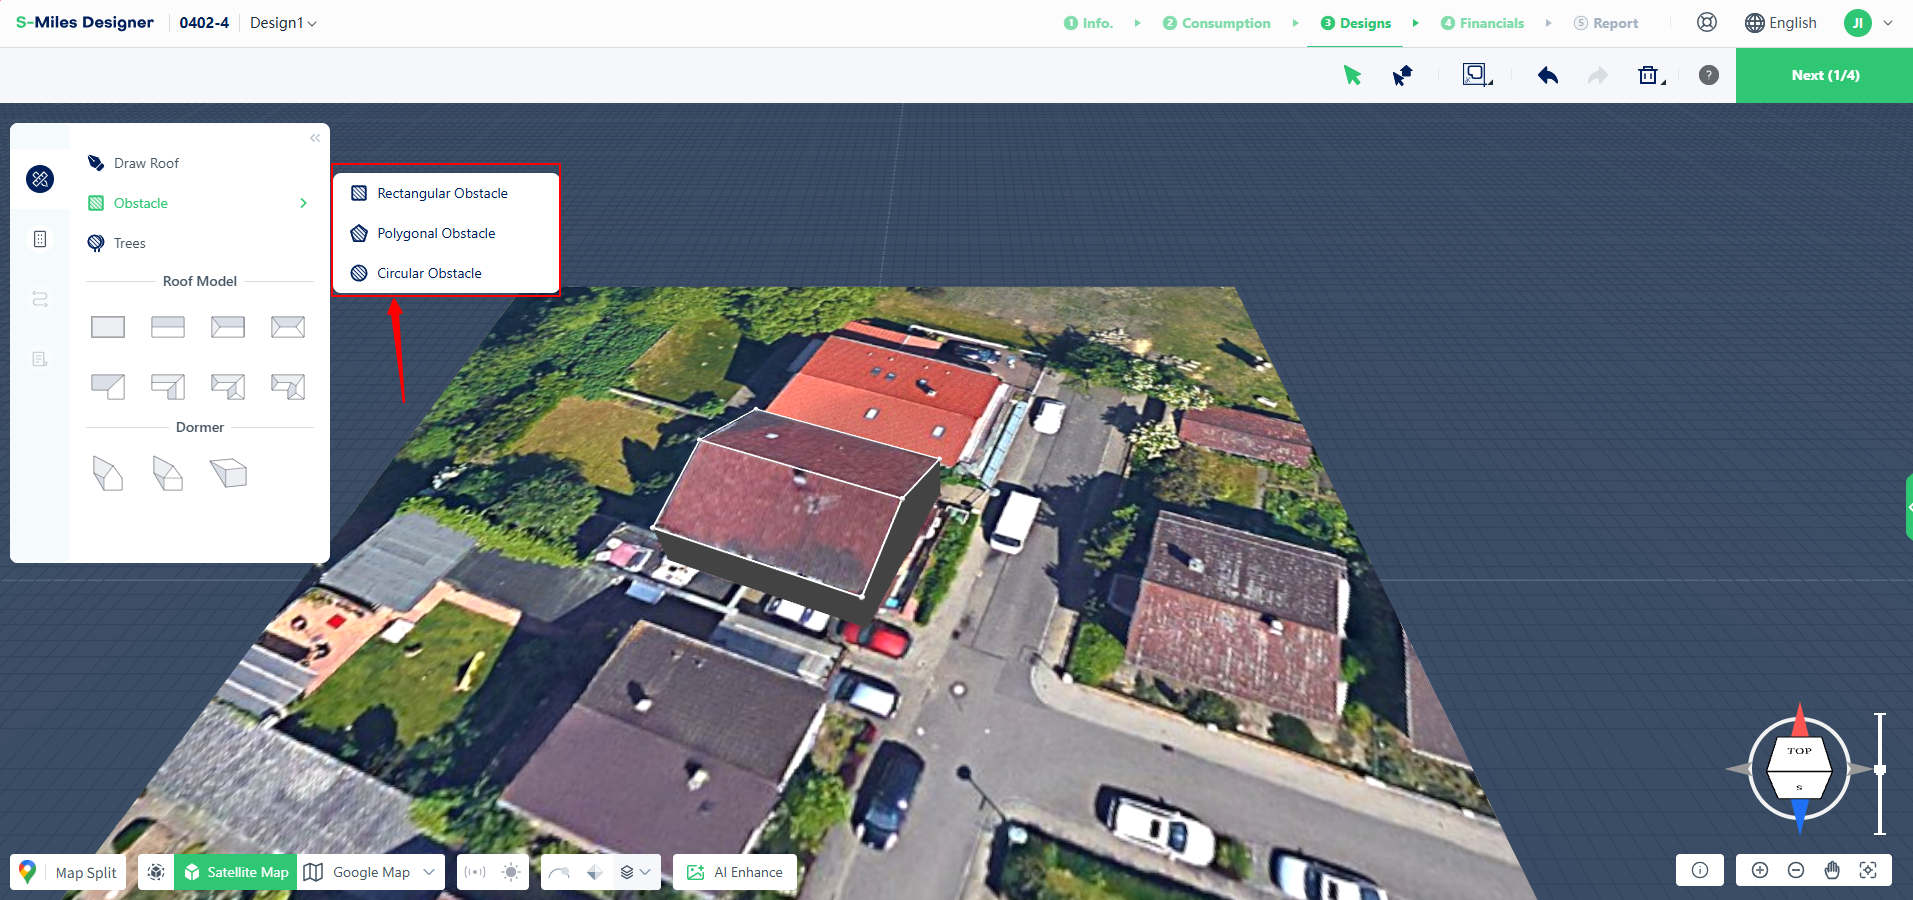
Select Obstacles from the left toolbar and choose a shape type: Rectangle, Polygon, or Circle. Once selected, the cursor will enter obstacle drawing mode.
Create and Edit an Obstacle
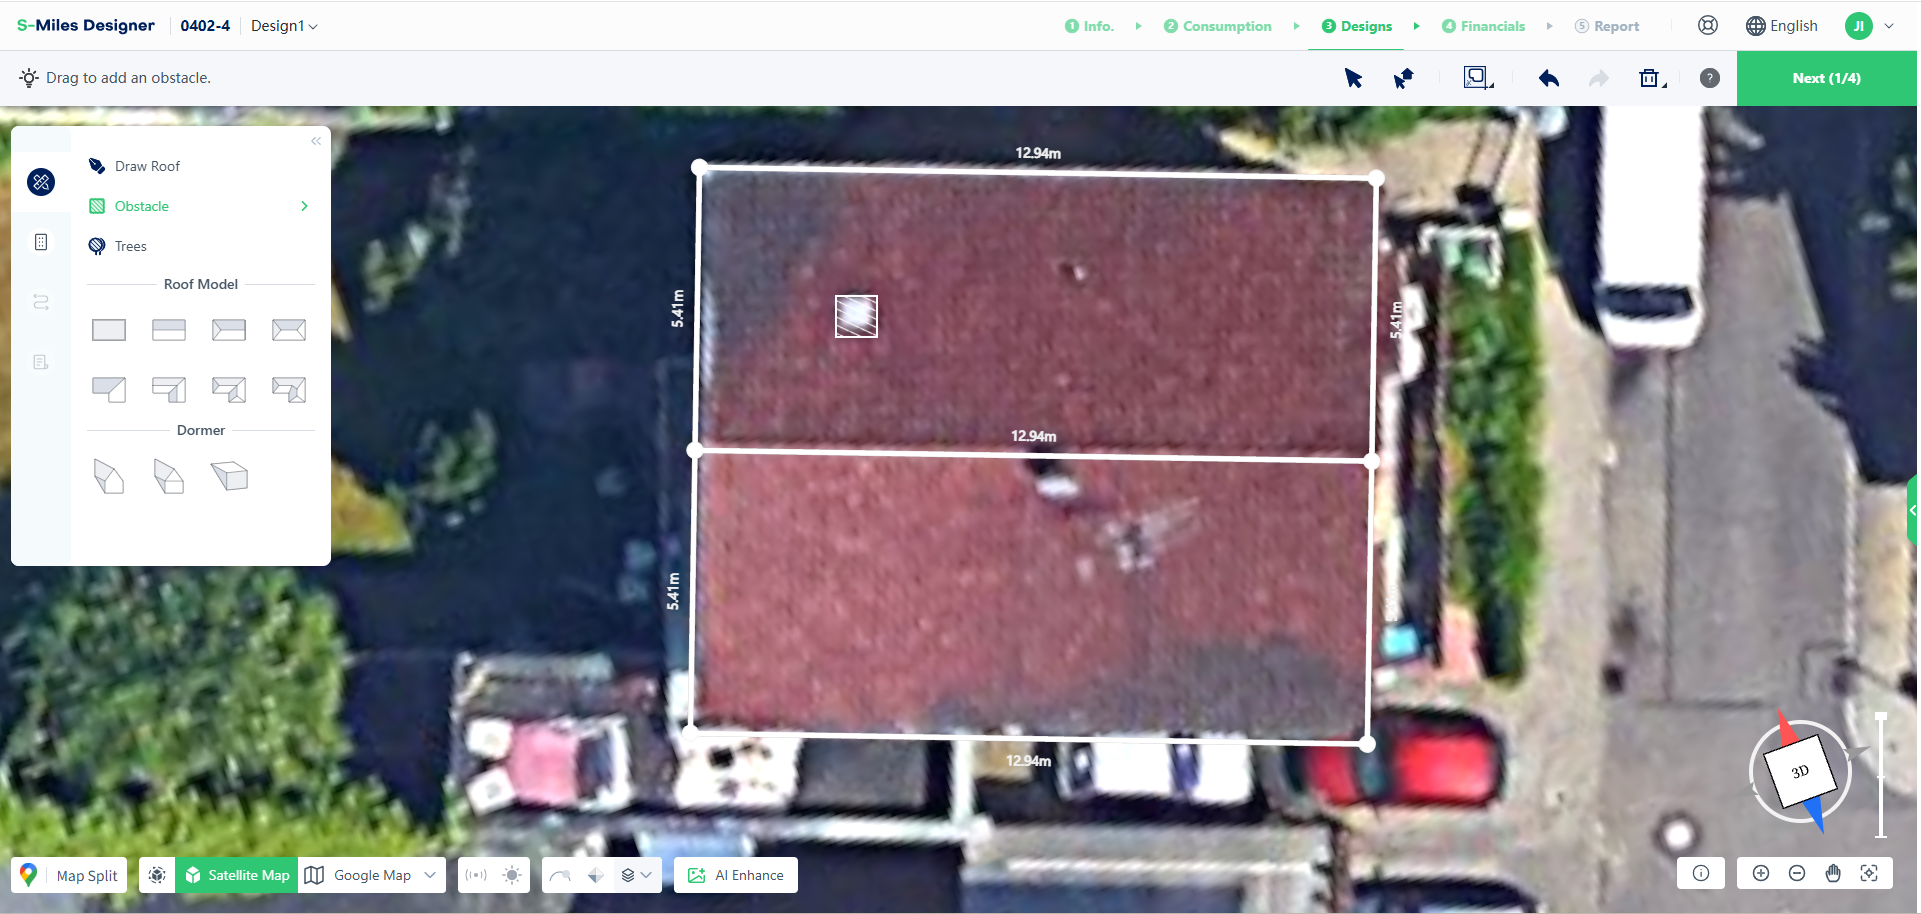
Click and drag on the roof or ground surface to create an obstacle.
- Rooftop obstacles automatically align with the roof surface.
- Ground obstacles automatically follow the terrain elevation.
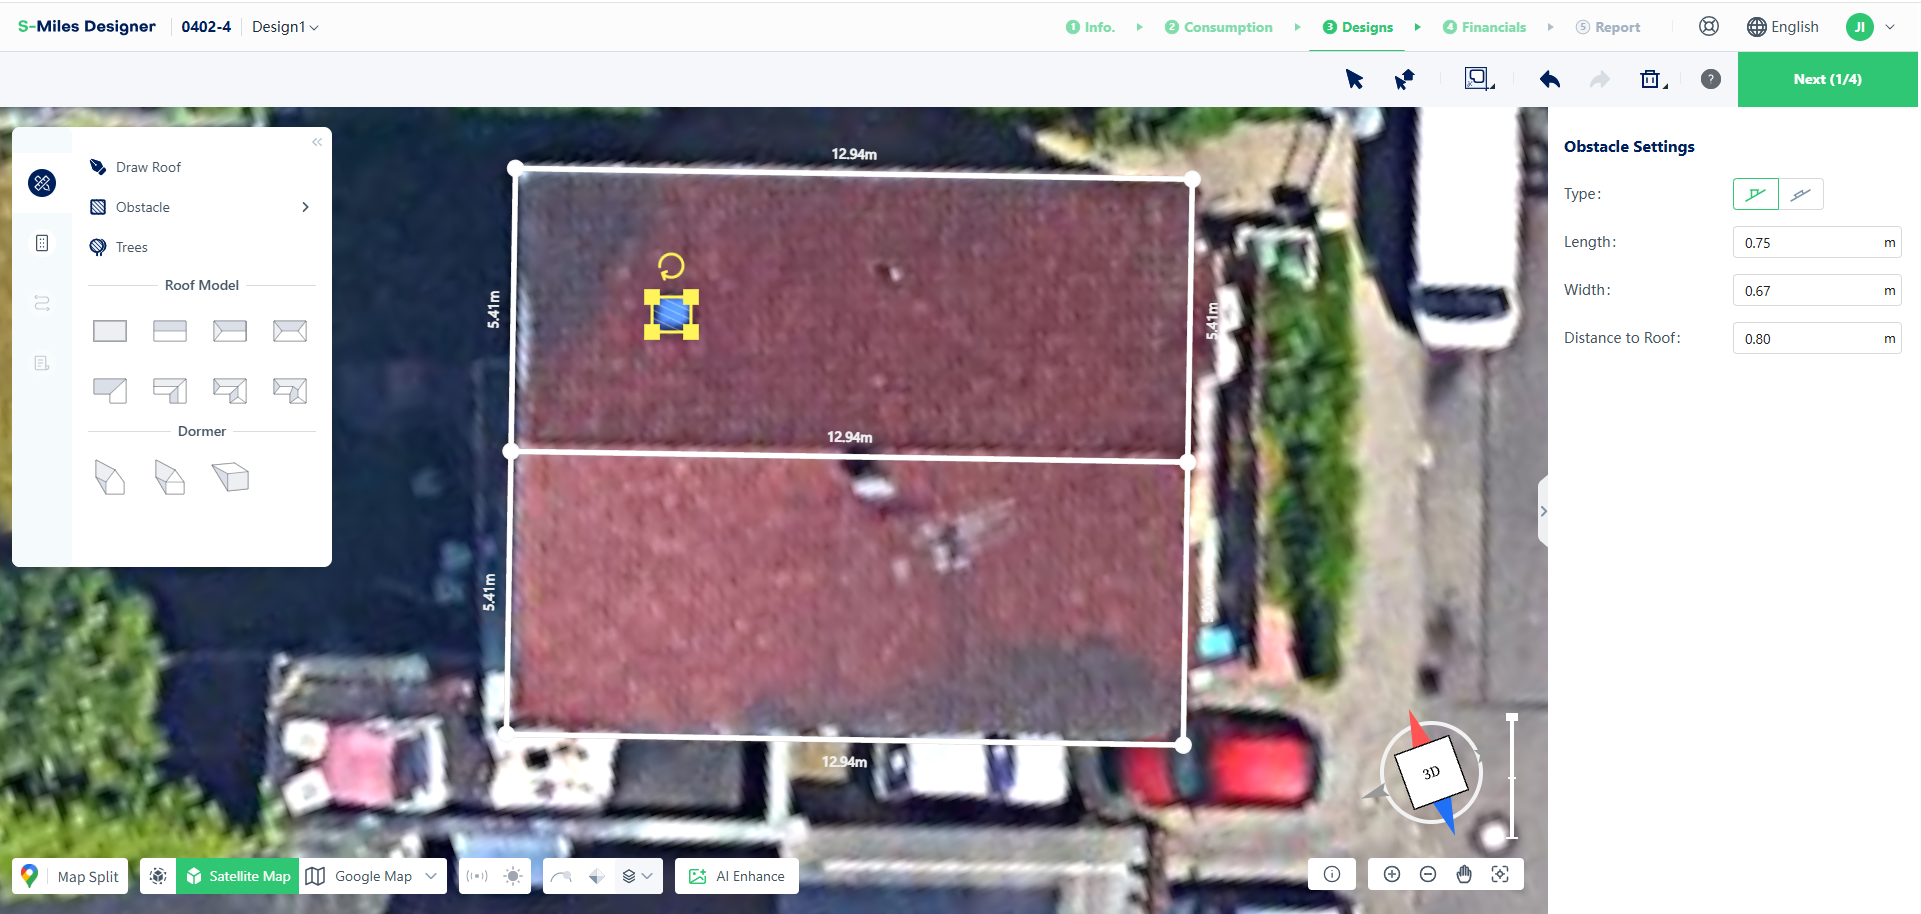
After creating an obstacle, you can adjust:
- Position
- Size
- Height
- Orientation
Drag the corner handles to resize the obstacle or use the rotation handle to adjust its orientation. You can also enter exact dimensions in the right-side properties panel.
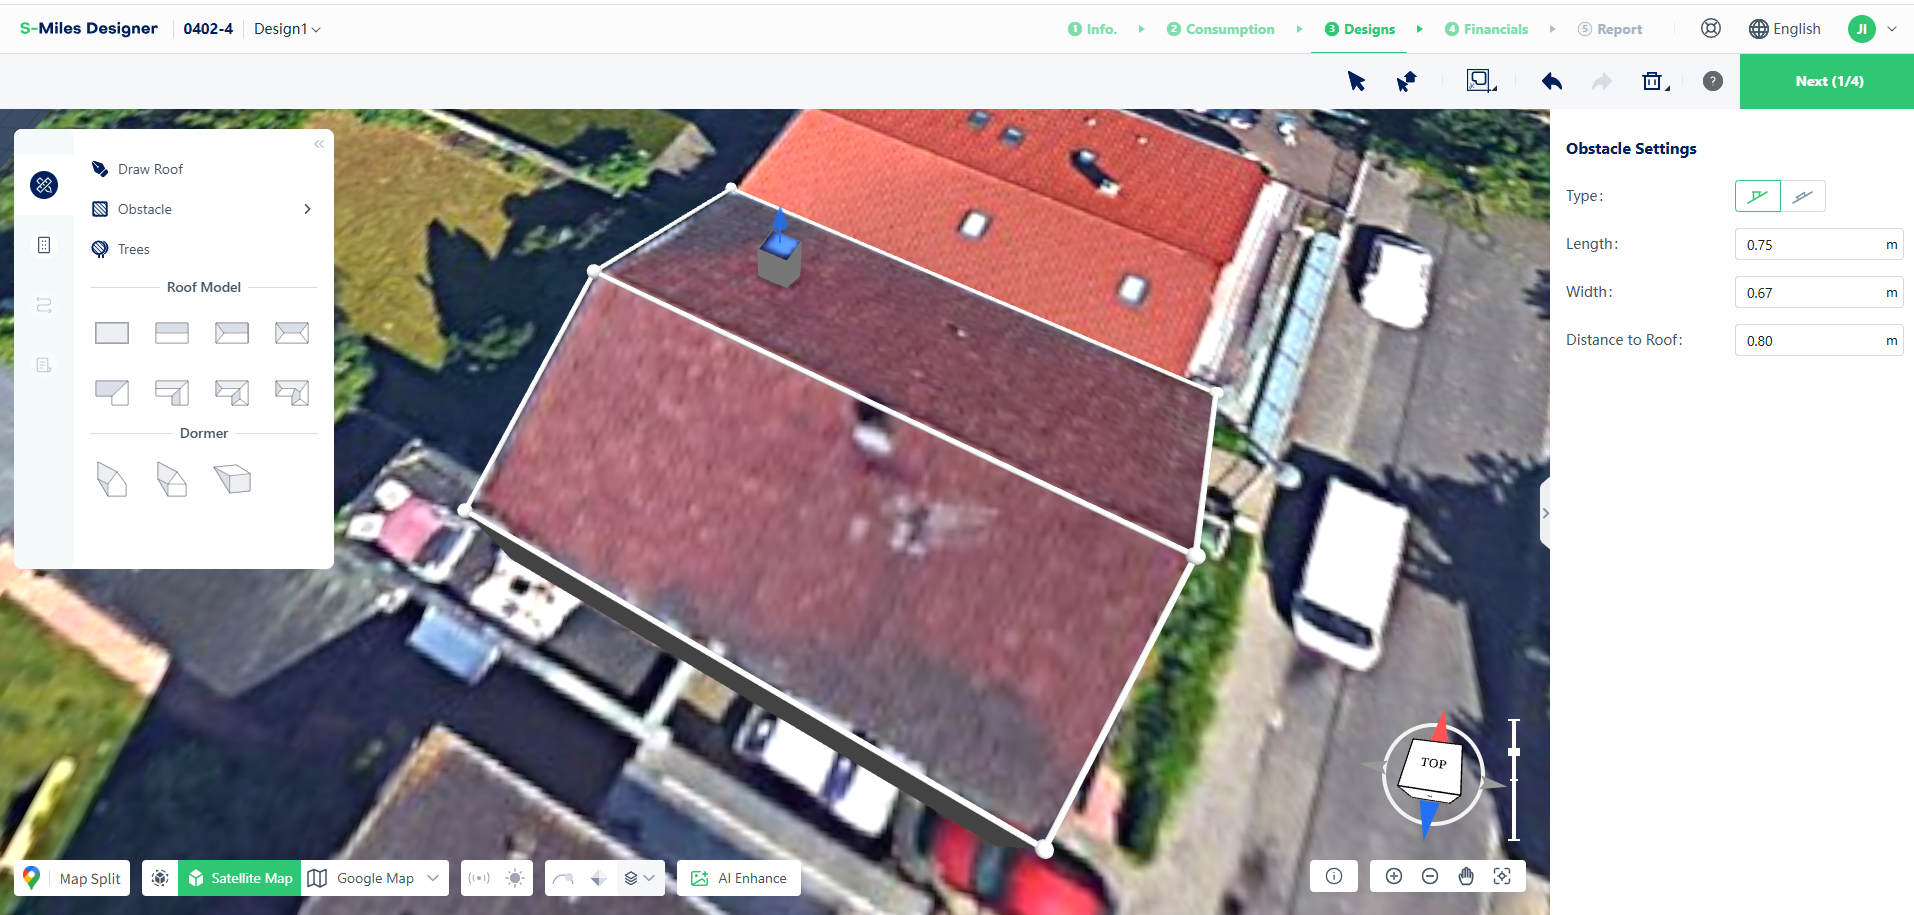
In 3D view, a blue height handle can be used to adjust the obstacle elevation.
Alignment Options
You can switch between Vertical to Ground and Vertical to Roof alignment modes when needed, depending on the installation scenario.
Drawing Trees
Create a Tree
Select Tree from the left toolbar to enter tree placement mode.
Click and drag on the desired location to create a tree model. Once placed, the tree is automatically selected for editing.
- Trunk Height
- Trunk Diameter
- Canopy Height
- Canopy Diameter
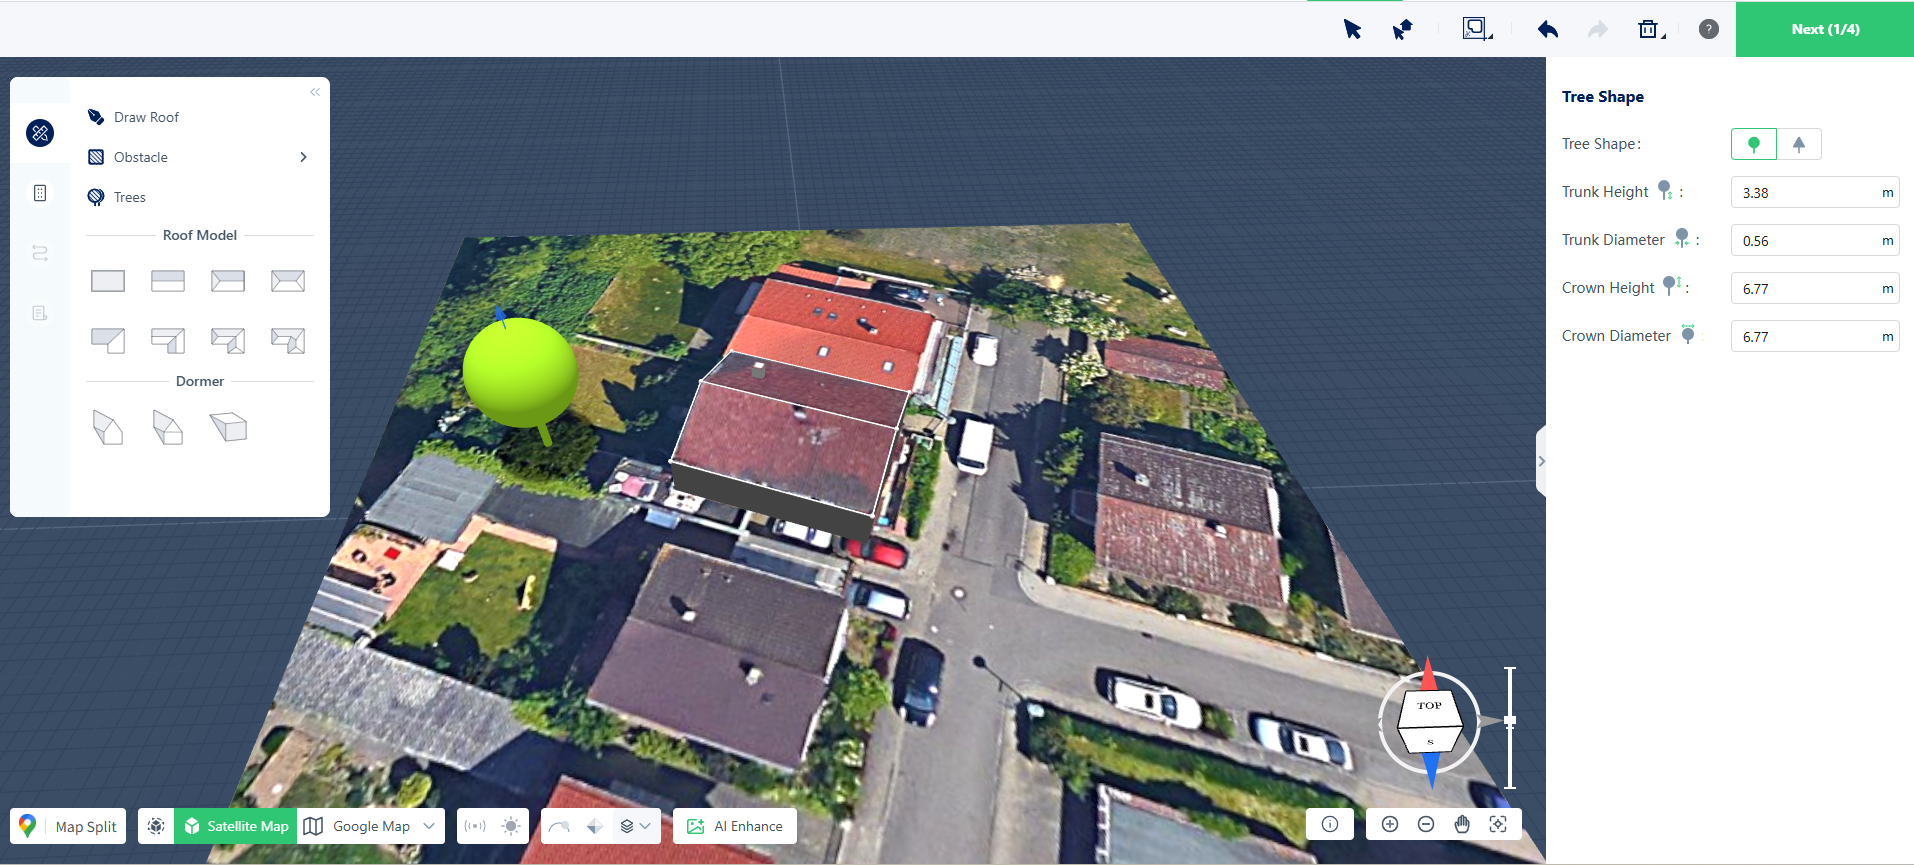
To reposition a tree, drag it in the top view. In 3D view, use the blue height handle to adjust its elevation.
Finishing Your Model
After completing your adjustments, right-click anywhere in the workspace to exit edit mode.
Adding obstacles and trees helps improve the accuracy of shading analysis and PV system layouts by creating a more realistic representation of site conditions.