
After selecting a roof area, S-Miles Designer provides multiple layout options to help you quickly place and adjust PV modules. This guide covers roof selection, layout settings, automatic and manual layout modes, and module customization.
Access the Layout Workspace
After selecting a target roof, a blue icon will appear on the roof surface.

You can enter the module layout workspace in two ways:
Roof Icon
Click the blue roof icon to enter layout mode. The selected roof edge will be used as the reference line for module placement.
Right-side Panel
Select the target roof directly from the right-side panel to enter the layout workspace.
Configure Layout Settings
After entering the layout workspace, configure the basic settings for the selected roof area.
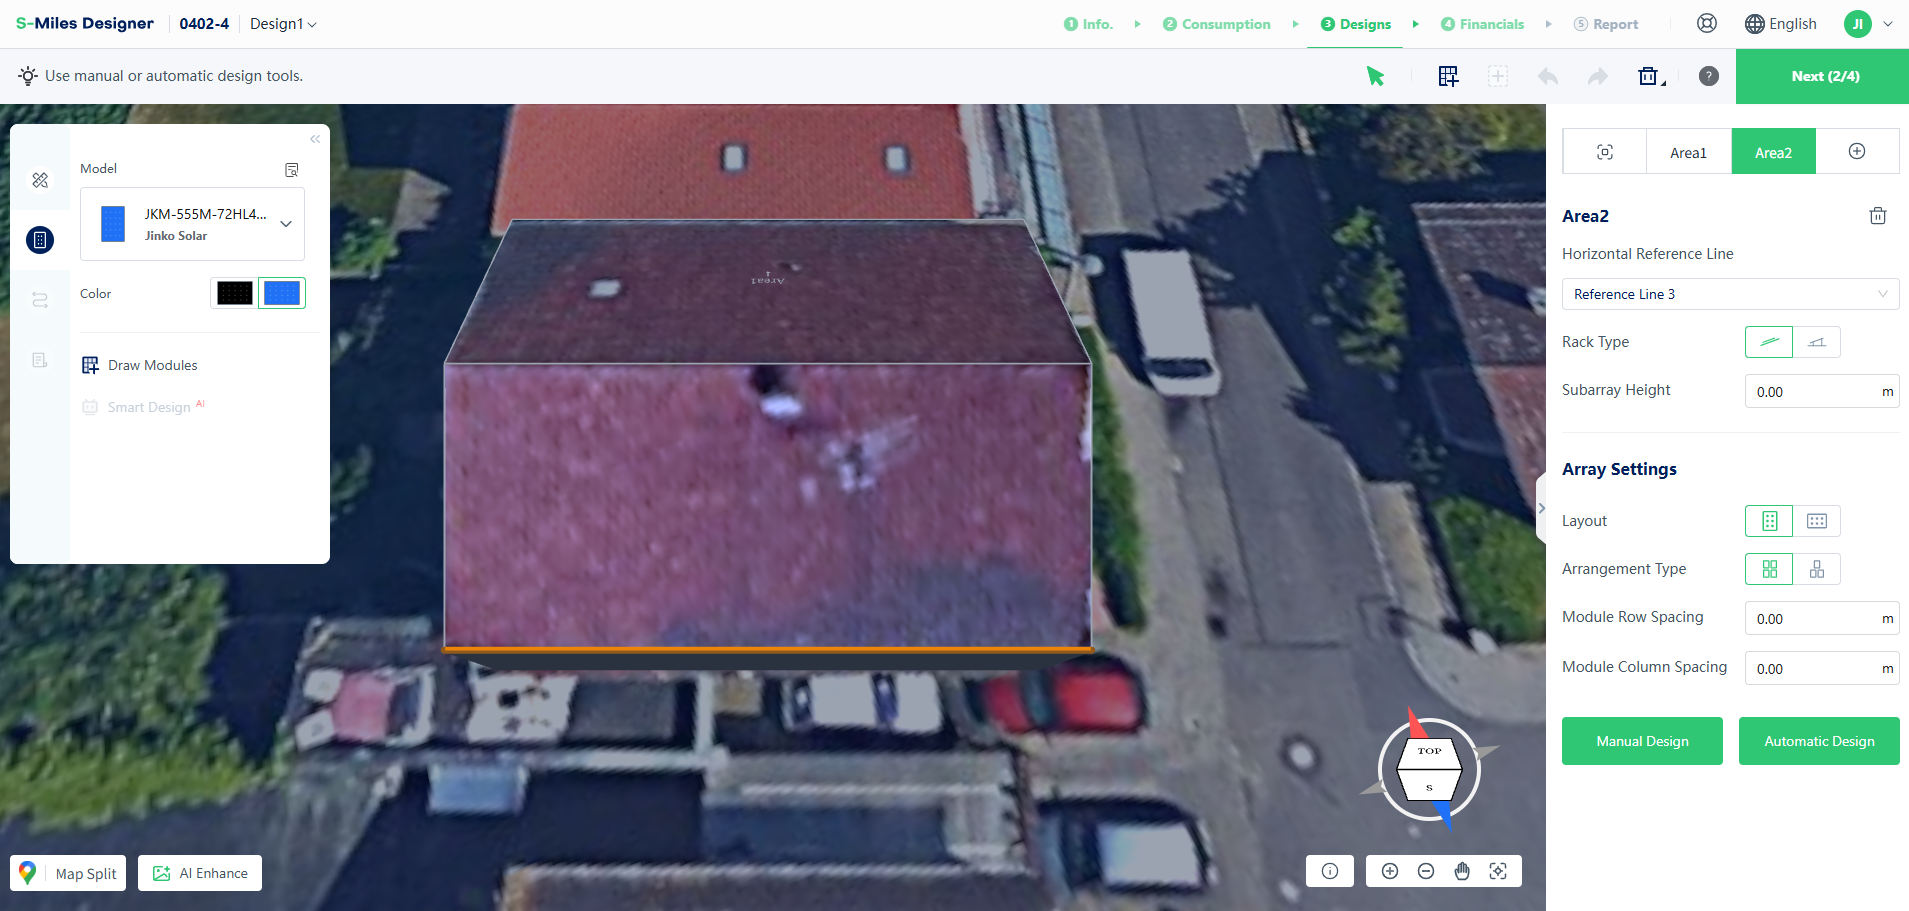
Reference Line
Select the roof edge that will be used as the reference for module arrangement.
Mounting Type
Two mounting options are available:
- Parallel to Roof – Modules follow the same tilt angle as the roof surface.
- Tilted Setup – Define a custom tilt angle and the clearance between the module array and the roof.
Configure Array Parameters
You can customize the module layout by adjusting the following settings:
Layout Direction
- Portrait
- Landscape
Arrangement Pattern
- Rectangular Layout
- Staggered Layout
Module Spacing
Configure custom row spacing and column spacing between modules.
Choose a Layout Mode
S-Miles Designer supports both automatic and manual layout modes.
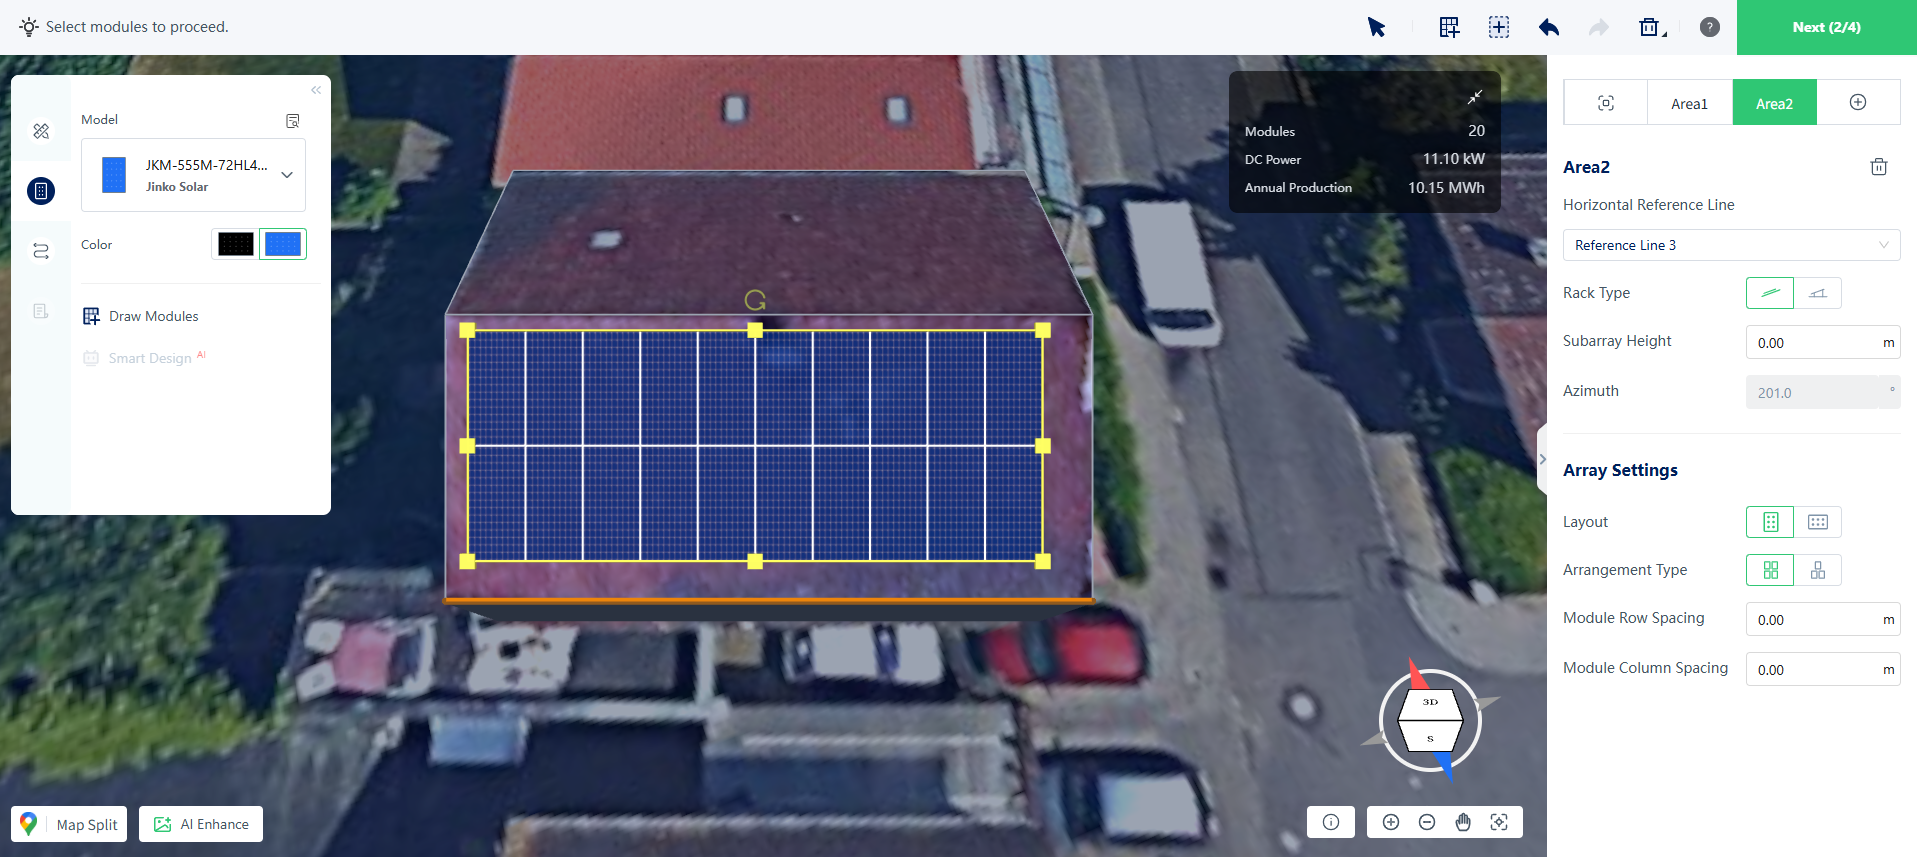
Automatic Layout
The system automatically fills the available roof area with modules, starting from the center of the roof.
Modules extending beyond the roof boundary or overlapping restricted areas are automatically removed to ensure a valid layout.
Manual Layout
Click Manual Layout to enter manual placement mode.
Click and drag on the roof surface to define a layout area. When you release the mouse button, modules are placed automatically based on the selected layout settings.

After the array is created, you can further adjust it:
- Drag the control points to resize the array
- Use the rotate handle to change its orientation
- Modify layout parameters in the right-side panel for real-time updates
Select Module Models
Use the left-side panel to choose different PV module models and switch module colors when needed.
Freehand Module Placement
For custom layouts, use the module drawing tool from the left-side panel or the top toolbar.
This mode allows you to place individual modules freely at any position on the roof.
Finish Your Layout
Once the layout is complete, review the module arrangement and continue with the next design steps, such as electrical design, shading analysis, or report generation.